Top 5 Facts about Caviar Beads
February 05, 2014
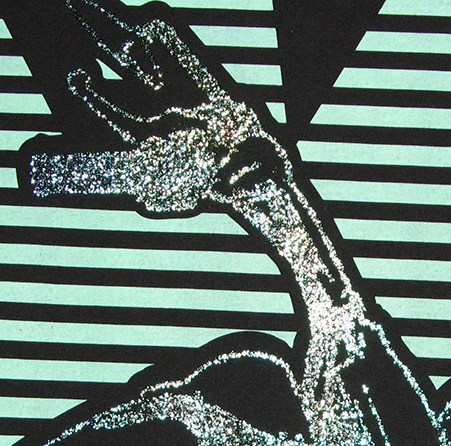
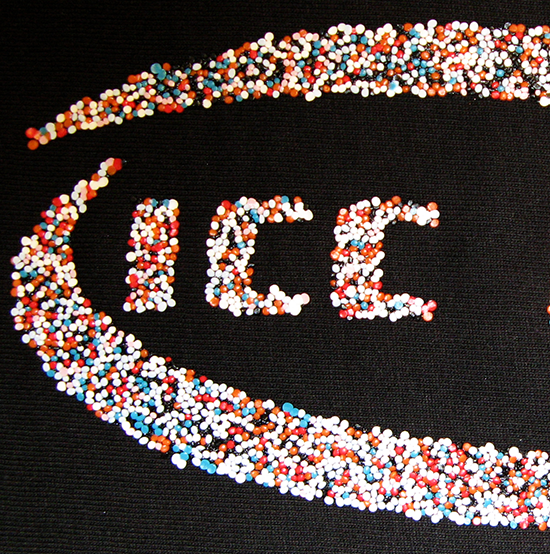
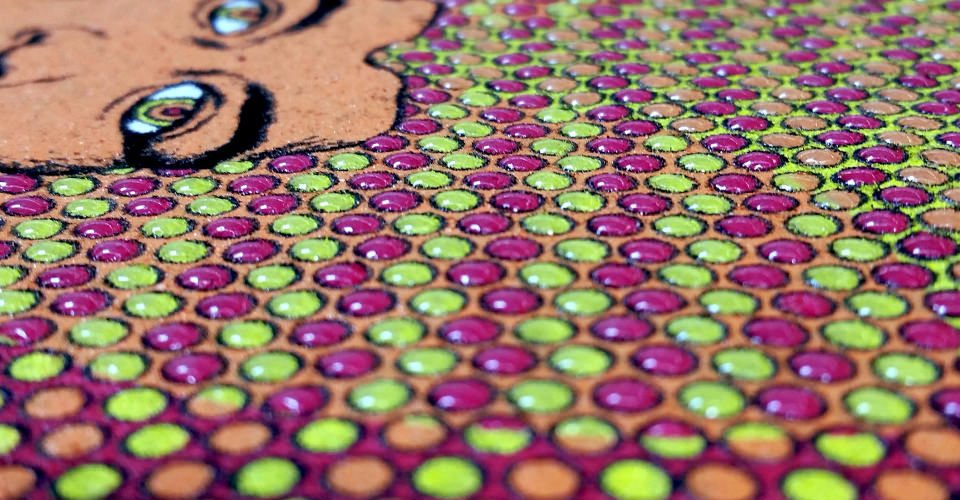
At the recent ISS Show in Long Beach, we received a lot of attention on our prints featuring caviar beads. Printers wanted to know how we achieved the various effects on the prints and we garnered a lot of "oohs" and "aaahs."
This brief article from Kieth Stevens recently appeared on Impressions and highlights the how-to's on Caviar Beads:
Whenever International Coatings showcases print samples that incorporate caviar beads at trade shows, most of visitors just look at us blankly when we tell them we achieved a certain texture or print effect using these beads.
“What? What’s that?” usually is the response we get.
So what are caviar beads (in screen printing terms) and how can they be used?
1. Caviar beads are small, round plastic beads that come in many sizes and colors, including clear.
2. To adhere these beads to a fabric, a design must first be screen printed using a plastisol adhesive (such as the 3809 Scpecial FX Clear). Depending on the type of adhesive, it may be best to use a catalyst as well (such as the 900 Nylon Series catalyst), about 5% by weight. For the best results, use a thick stencil (preferably using a capillary film of 200 microns or higher) to lay down a thicker adhesive coating.
3. While the printed design is still wet, the caviar beads can then be sprinkled on using one of the following methods:
• Sprinkle the beads onto the printed adhesive by hand while the shirt still is on the platen. Then use a blind screen (a screen with no art exposed on it) to press the beads down into the fabric more evenly by running a squeegee lightly over the screen mesh.
• Take the printed garment off the platen and place the shirt print side up into a tray containing the caviar beads. Arrange the beads in a mound over the wet print, then take a stiff cardboard or plastic sheet larger than the size of the print and push the beads into the adhesive.
• Remove the garment from the platen and place it print-side down into a tray containing caviar beads. Be careful to have enough beads spread evenly in the tray to cover your entire design. Once again, use a stiff cardboard or plastic sheet placed over the entire design on the back of the shirt and press to adhere beads to the adhesive.
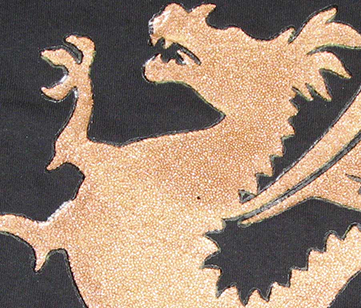
Regardless of which method you use, shake off excess beads carefully, then cure the garment in the dryer.
4. Due to the thickness of the adhesive applied and the caviar beads involved, curing time and/or temperature needs to be increased to ensure the adhesive cures properly. If this does not occur, the beads may fall off during washing.
5. When preparing artwork for use with caviar beads, avoid designs with fine lines, as the beads may not evenly stick to a narrow strip of adhesive.
Combine a couple or several caviar bead colors for more interest (such as on a butterfly or retro design). Another cool effect is to “kiss” the design with foil in the heat transfer machine for one second and hot-peel the foil. Experiment with melting the beads partially or using silicone paper in the heat transfer machine.
Kieth Stevens is the Western regional sales manager for International Coatings. He has been teaching screen printing for more than 10 years and is a regular contributor to International Coatings’ blogs.
International Coatings manufactures a complete line of phthalate-compliant screen printing inks, including a wide variety of whites, specialty inks, special effects inks, color matching systems, additives and reducers. For more information on our products, please visit our website at www.iccink.com.
