Part II of an article recently published on 'Impressions' by Kieth Stevens.
PREPRESS PREP
Many of these specialty inks require a little extra prepress effort. Let’s look at what is involved:
• Artwork: When it comes to designing with special-effects inks, the motto “less is more” often rings true. Avoid large areas that use thick ink, such as puff, or adjust the artwork accordingly. For instance, use large halftone dots instead of a solid block. Also, avoid lines that are too thin and detailed, as they often don’t reproduce well.
• Tight Mesh: The tighter the mesh, the better the ink flow. When the mesh is tightly stretched, its thread gets thinner and allows more ink to pass through. Follow the manufacturer’s suggestions on the appropriate tension for your mesh type. Otherwise, other issues may follow, such as the need for excessive off-contact. This can create a distorted printed image or problems with color-to-color registrations.
• Thicker Stencil: Most of the aforementioned inks work best if used in conjunction with a thicker emulsion layer, usually in the 400-micron range. When creating a thicker screen stencil, either apply a thick emulsion layer by making dozens of passes with the scoop coater while allowing it to dry after every few coats. Or simply learn how to laminate a sheet of thick emulsion that can be purchased from your screen supplier.
All of these emulsions can be exposed quickly, so it is extremely important to do all coating and handling in an area that does not contain white or unfiltered light. An area with a ruby filter covering the light source is preferred.
Remember that even if a tiny amount of light washes over the screen, the damage cannot be reversed. And if too much light reaches the screen, reclaim it.
Did you know that the emulsion-covered screen is sensitive to light even after you have started washing it out after exposure? So keep the lights off until the screen has finished the developing process. When I hear that someone is having trouble making a thick screen, I find that the problem usually stems from improper handling prior to, during or after exposure.
Lastly, when printing through thick emulsion, try not to print too small of an image. This is because the ink will remain in the screen and won’t release onto the garment.
• The Right Film: The other major problem with exposing the thick screen is the type of film being used. Hold the film positive that you will use up to the light or sun. If you see light passing through its black portion, then you will not get the best image. Use a film or printer that can give you an opaque black to block the light.
• The Correct Squeegee: Many printers don’t have a large enough assortment of squeegee durometers or profile types. Having the proper tools at your disposal enables the flexibility you need to create the desired effect or look.
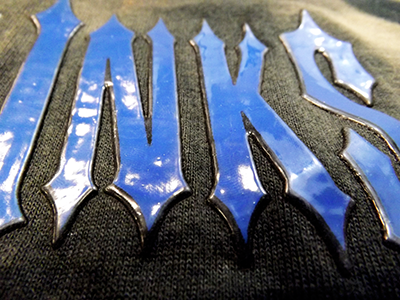
For example, when printing gel or glitter, a soft squeegee deposits more ink and may help avoid having to double-stroke the print.
EXPERIMENT OFTEN
Once the basics of specialty printing are mastered, experiment with the inks — you may even want to combine a few to see the effect it achieves — and come up with your own unique formulas and prints.
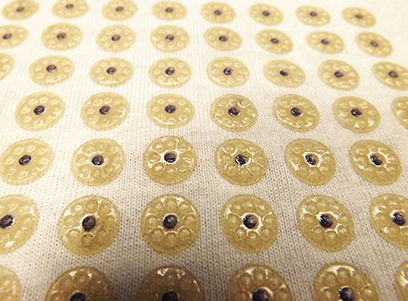
I’ve certainly experimented with multiple ideas in the past. I once tried to make a “lens” that would magnify a print or object underneath the clear coating. It would be like adhering a postage stamp to a garment and then printing a coating of gel on top of it so thick that when you cure it at a high temperature, the gel would become domed to create the look of a magnifying glass.
Or how about printing a flock adhesive, but instead of just printing it as a clear base, you tinted it a contrasting color to the flock color? Perhaps an orange-tinted adhesive and then a green flock on top. Or what about a white-tinted adhesive on a black shirt with a red flock color?
Another idea is to use an ink called “Burnout” that can be used on a 50/50 shirt to actually burn out the cotton fibers, leaving just the polyester threads. You could then sublimate the leftover polyester fibers with another image and further embellish it with foil or direct-printed metallic glitter, for example. Again, it’s difficult to incorporate many of the suggested ideas without an understanding of the tools you will need. However, once you’ve mastered these tools, the sky is the limit.
I look forward to what the future will bring to our industry, including developments in direct-to-garment printing. Even if the digital age starts to take a stake in volume garment decorating, specialty printing still will be needed to augment digital printing. And I’m sure I’ll still feel the need to pull a squeegee once in a while in my old age.
Kieth Stevens is the Western regional sales manager for International Coatings. He has been teaching screen printing for more than 10 years and is a regular contributor to International Coatings’ blogs. For more information, visit iccink.com and read the company’s blog at internationalcoatingsblog.com.
International Coatings manufactures a complete line of non-phthalate screen printing inks, including a wide variety of whites, specialty inks, special effects inks, color matching systems, additives and reducers. For more information on our products, please visit our website at www.iccink.com.