Create Special Effects At Any Skill Level
October 18, 2017
 In an article published by Printwear Magazine, Kieth Stevens explains the use of special effect inks based on one's level of printing expertise.
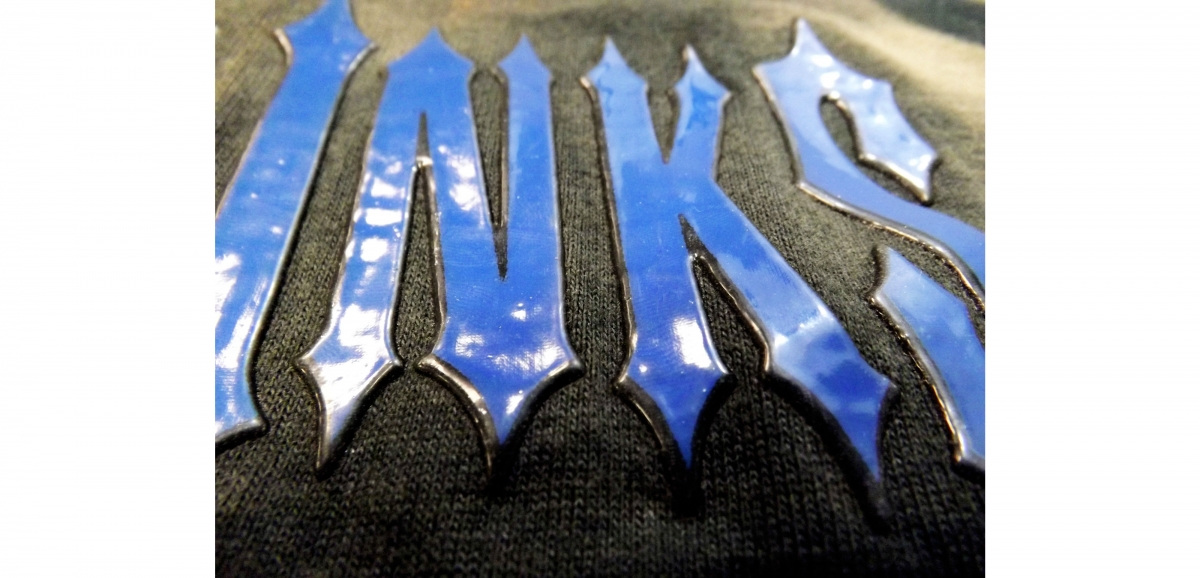
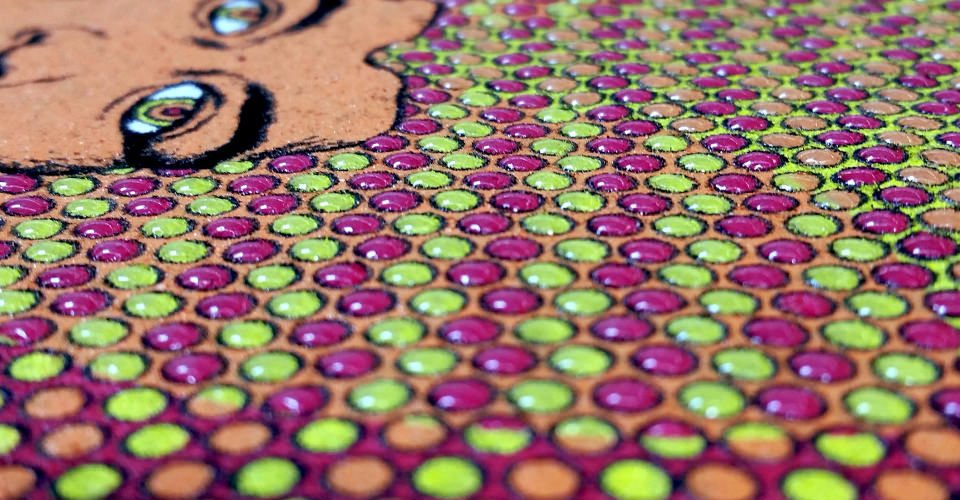
Let's talk about the different inks available for special effects. Beginners: For the beginner, puff or suede inks can add a simple wow to an image. I also like to use a glow-in-the-dark ink, as it is one of the simplest inks to work with and it is very easy to use. Intermediate: For the intermediate printer, try glitter or shimmer inks. Glitter prints come out best when you build up a thicker emulsion layer on the shirt side of the lowest mesh count screen required to pass the glitter. This allows the glitter ink to flow beneath the threads of the mesh and fill in the voids. Otherwise, it will look like a checkerboard. Also, try light-reflective inks (such as our Optilux Reflectives Inks). They are on the costly side but lend a cool effect when correctly used. Try it in an outline of a design for that extra something. Another good special effect to try for the intermediate printer is gel gloss. Applying gel also requires a thicker emulsion layer, but gel is very versatile. You can create a "wet" look, or even print gel over other colors. Advanced: For the more advanced printer, try high-density inks or color-changing inks called photo chromatic inks. With high-density effects, make sure you use a high-quality ink. One thing that I frequently see when I’m working with customers who use a low quality, high-density ink is that the ink will start liquefying on-press. What I mean is, the ink starts out good and creamy but will drop in thickness as the print runs continuously; usually after about 100 prints or so. This is more noticeable on long runs and automatics. Usually, a quality high-density ink starts out almost too thick, but as it is stirred, it becomes just printable. After a few print strokes, it should come out just right. Don’t try to save money on a project by using inferior inks. The money that is saved by the less expensive ink will surely cost more in the long run due to delays in the job from all the downtime trying to get the ink to work well. Another special effect to try for the advanced printer is flock. Flocking results in a velvet-like texture, and there are many fiber colors and lengths available to make your design stand out. You do need an electrostatic flocking applicator and it's best to designate a box or area for blowing off the flock fibers after curing to contain the loose fibers. The most important thing for printing special effects is to go ahead and try it. Most printers will discover that it's easy to do and can elevate their offerings and shop in the process.


