 Figure 1
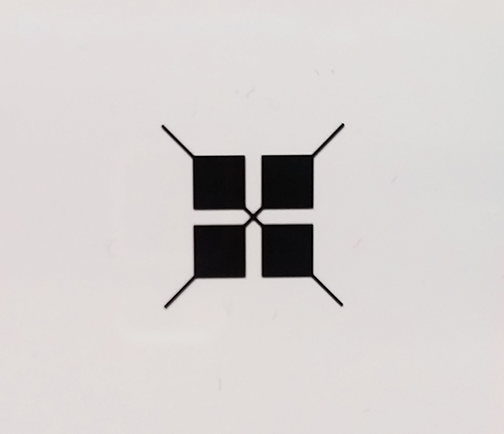
• The finer the detail of the registration mark (thinner lines instead of just a fat square), the more accurate you can expect the registration of the screens to be
(Figure 1). This is especially important if the design is detailed and requires more precise alignment. I suggest placing the targets as far apart as possible and having at least three marks per film to get the best results.
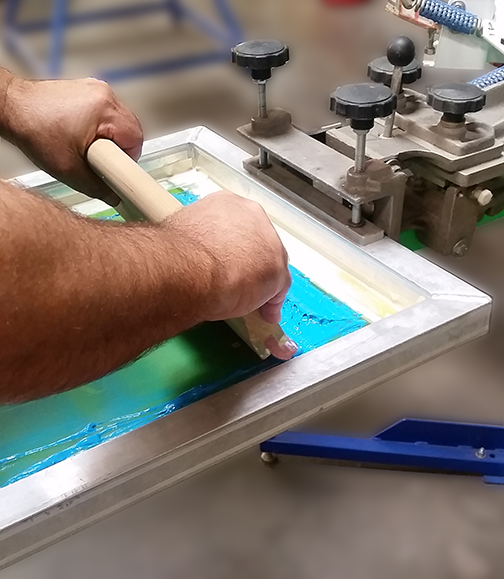 Figure 2
• With a light-colored fabric, use the black or other dark-color screen to register the design. Conversely, with dark fabrics, use a white or light-color screen. In our example here, we’ve used a white fabric that was test printed with blue ink
(Figure 2), resulting in printed registration of the blue on white
(Figure 3). Be sure to center the design so that it will be centered on the final garment or, if it’s to be printed in a special location (such as left chest), that it is placed correctly.
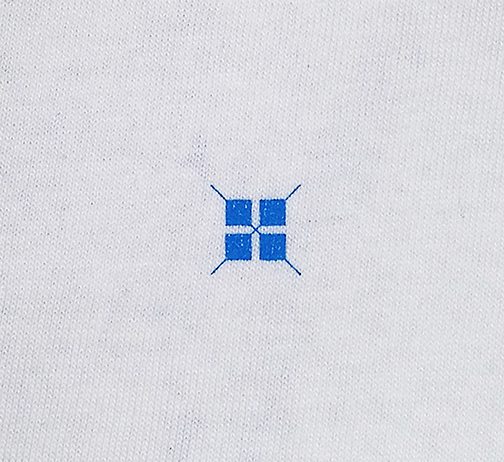 Figure 3
• Test-print the screen to a fabric or pellon. Flash the ink so it won’t smudge, but be careful not to over-flash to avoid the image from becoming distorted, and thus making it impossible to assure a proper registration.
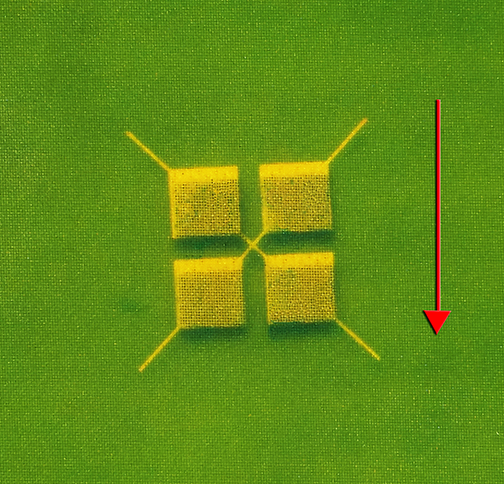 Figure 5
• Now register the other colors (in our case, the lighter color) to that test print
(Figure 4). A tip for this: When registering screens for a multicolor job, always take into consideration the direction in which the squeegee will be pulled. Register the screen slightly toward where the squeegee is coming from (top to hem or hem to top, whichever way the squeegee is usually pulled by the operator), and you will have more success in hitting perfect registration the first time. In our example, the squeegee is pulled from top to hem, so the screen is registered a hair’s breadth above the registration mark on the test print, with the slightest bit of blue peeking out at the bottom of the squares
(Figure 5). That way, when the squeegee is pulled or pushed, the movement of the mesh will align the design to the correct position
(Figure 6).
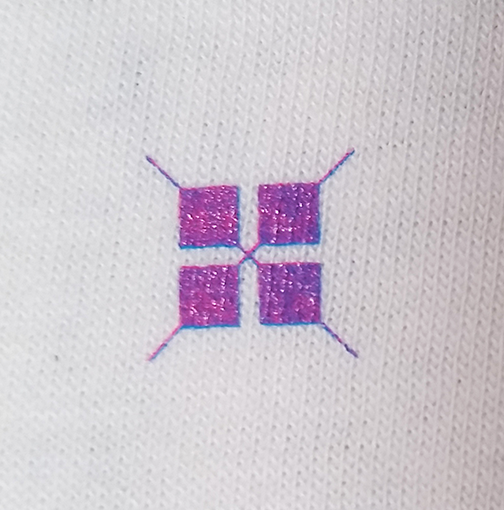 Figure 6
• Also note, less adjustment needs to be done (when registering from where the squeegee is coming from) when the mesh is stretched tighter. But when using older screens that aren’t at the proper tension, you may need to adjust the registration further toward where the squeegee is coming from.
• Always try and keep your pallet as level as you can and keep the screens level and perpendicular to the pallet. Many presses have adjustments to each print head that allow you to adjust the screen levelness to the pallet and to add off-contact by raising the screen up above the pallet/shirt, thus creating the proper peel as the squeegee passes and deposits the ink.
• When making any adjustments to a press for either the registration or screen levelness, be sure to fully loosen all the nuts or clamps while making the adjustments and then fully tighten the nuts and clamps once done to assure that nothing is moving.
• When adjusting the screen on a press or swinging the pallets into position for registration, try not to push or pull on the pallet or screen itself, or at least be extremely careful not to use too much force to avoid jarring the pallet or bumping the screens out of registration in the process.
• If the imaged screens are going to be saved for use in the future and are not being reclaimed, remove any tape used to block out the registration marks before the screens are put away for storage. The adhesive on the tape can deteriorate over time and can make it much more difficult to remove later.
A beginner may take several tries to get registration right, but once the basic steps are mastered, it should not be a problem.
Following some or all of these tips and suggestions will preclude unnecessary mistakes, and thus lessen any potential issues on press. Furthermore, the job will be up and running, with less downtime and, at the end of the day, more cash in your pockets.
Kieth Stevens is the western regional sales manager for ink manufacturer International Coatings. He has been working in the screen printing industry for over 35 years and teaching screen printing for more than 10 years and is a regular contributor to International Coatings’ blogs. For more information, visit
iccink.com.
