
This article was recently published in Impressions.
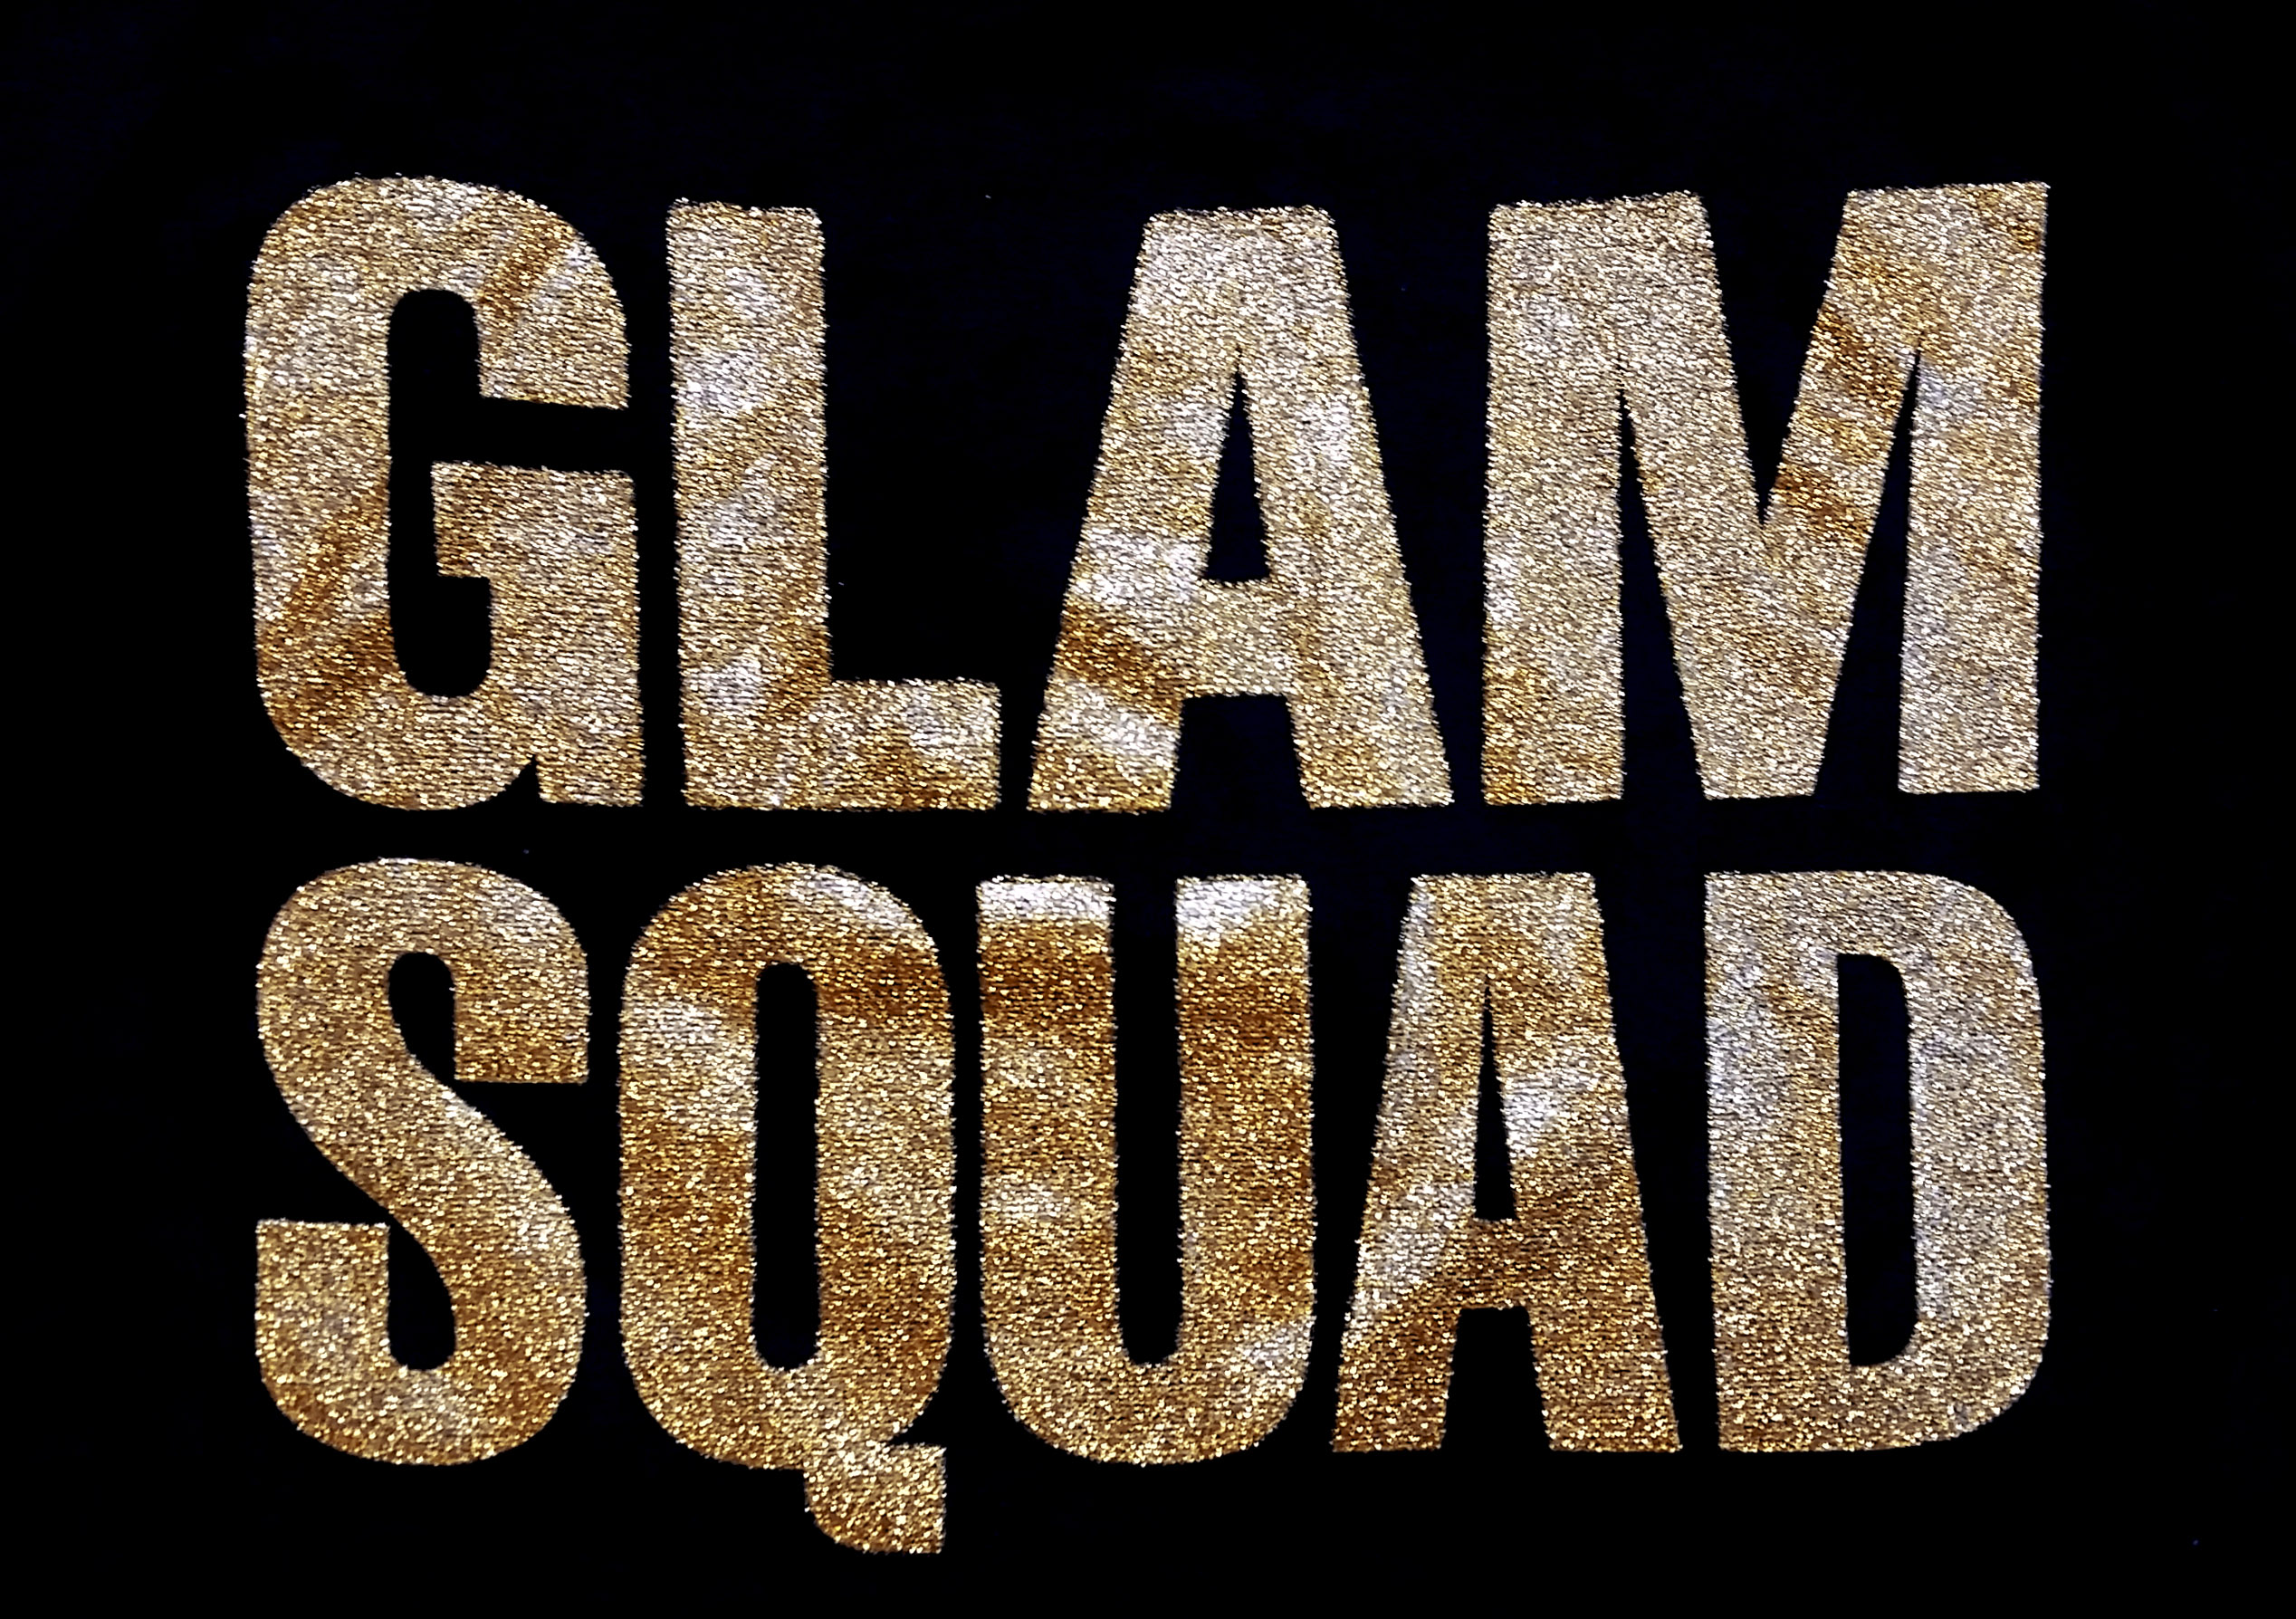
Adding glitter to a print design instantly elevates its fashion appeal. You want to offer glitter prints to your customers - it seems simple to print. But your last glitter print had "bald spots" and some areas washed off.
Here are some simple tips and tricks to use as a guide when printing glitter:
Choose to cover larger portions of a design element with glitter rather than design parts with fine lines or small details.
Use a low mesh count. Check your ink manufacturer’s recommendation on which mesh size they recommend. Shimmers typically use smaller-sized flakes than glitter, but each manufacturer is different.
Be sure to build up a thick emulsion layer on the shirt side to allow for a thicker deposit of the glitter flakes. This will help in preventing “bald spots” of glitter. Don’t skip this important step as it will “make or break” the success of the print.
Use a soft squeegee, 60 durometers, to allow for a thicker deposit of the glitter ink onto the substrate.
After its run through the dryer, make sure to test that the entire layer is evenly cured. Glitter flakes reflect heat, so depending on the type of dryer and temperature setting, you probably will need to increase the dwell time in the dryer to assure that the entire layer is cured.
Watch our video which details step by step on how to prepare screens and print glitter inks.