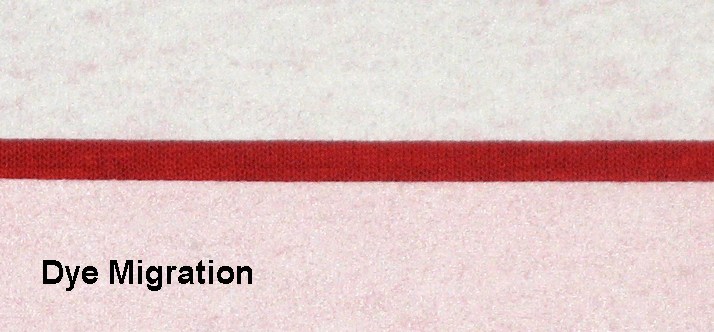
 With today’s many choices of performance fabrics, printers are faced with the possibility that certain colored fabrics they need to print on may have a bleeding or dye migration and/or ghosting problem. Although we have previously covered the topic on how to deal with dye migration issues in terms of what inks to use, there are several tests a printer can do BEFORE printing to determine whether a fabric is more likely to have dye migration issues or not.
Kent Hudson, our Director of Sales, has some tips on how to test the fabric:
“Here are three easy tests that every printer should be able to perform. This will help to understand dye migration (bleeding) and ghosting issues that can occur in any print shop.
Test for Dye Migration or Bleeding
- Needed Items: transfer press, LBX Viscosity Reducer, white cloth or pellon, polyester or 50/50 test fabric.
- Position test fabric on a transfer machine.
- Apply a small 1 inch spot of plasticizer (such as International Coatings’ LBX Viscosity Reducer)
- Place a piece of white cloth or white pellon on top of the spot of plasticizer.
- Press in transfer machine at 320° F (160° C.) for 30 seconds.
- Remove from transfer machine and check the white fabric for staining. The greater the stain is on the white cloth the greater the dye migration or bleeding from the test fabric. Most all colored fabrics containing polyester will migrate or bleed. This test will determine the severity of the dye migration or bleeding.
- By testing many or all of your production fabrics, you can determine the best low bleed ink to use. You can also use these results to establish a pass or fail specification on incoming goods.
(For more on dye migration, check our “The Need To Test” and “ Troubleshooting: Curing and Testing” blogs)
Heat Accelerated Dye Migration or Bleed Test
- Print low bleed ink on fabric.
- Cut printed area in half.
- Place one half of the fabric in a warm/hot location. Best results occur around 150° F (66° C). Check after one or two days.
- The heat will accelerate migration or bleeding in the ink that typically will take days or weeks to appear.
Ghost Test for Inks
- Print on half of the test fabric with plastisol ink and cure.
- Place fabric on transfer machine and moisten by spraying with water over the print area.
- Fold the unprinted half of the fabric over the moistened print area.
- Press in transfer machine at 250° F (130° C.) for at least 30 minutes.
- Remove from transfer machine, unfold and check the fabric for ghosting.
Testing your fabric prior to a print job can help reduce many problems that may occur during or after printing. Spending a little time and effort to test can save thousands of dollars later.
International Coatings manufactures a complete line of screen printing inks, including a wide variety of whites, specialty inks, special effects inks, color matching systems, additives and reducers. For more information on our products, please visit our website at www.iccink.com.