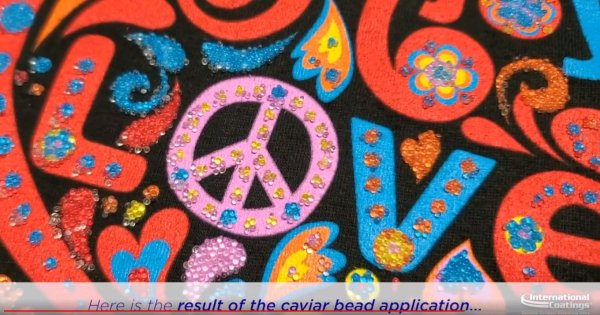
Glitter always results in a big “wow” factor, and this dry-glitter technique by Kieth Stevens will amp up the "wow" factor a notch. This technique was recently featured in Images Magazine.
Most screen printers are familiar with printing glitter ink, so what is the difference between printing glitter ink and this dry glitter application method? The main difference is that applying dry glitter to a clear adhesive ink results in much more “shine.” There is no clear gel covering the glitter particles as would be the case with printing a glitter ink.
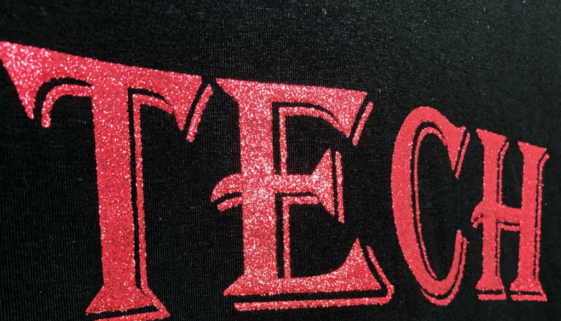
This method lends itself well to larger design areas rather than designs with much detail. In our example, we printed a simple shirt with a stylized “TECH” for a school show performance stage’s tech team. Only 3 screens are needed for this technique. Below is a step-by-step how-to for this easy print technique. You can also view our how-to video reel to see the printing action.
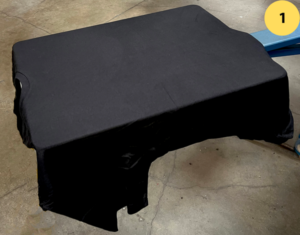 For this print we used Men’s Premium black shirts from Cotton Heritage
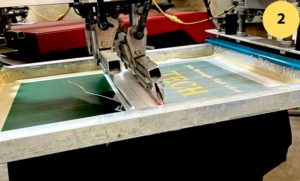 Next we printed a white under base using International Coatings’ Legacy White™ 7014, on a 110 mesh screen and a 70-90-70 Saati triple durometer squeegee. We printed it on an M&R Sportsman E 10-color machine
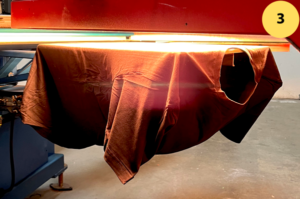 Flash – Just to gel the ink to the touch. Do not over-flash
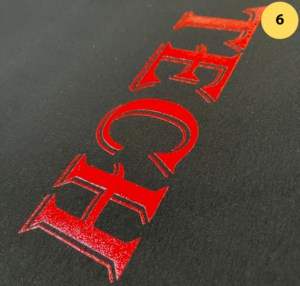
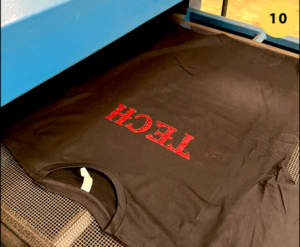
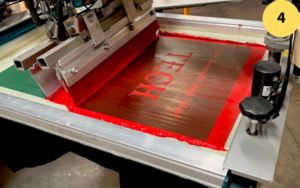 Print a second coat using a color that matches the desired glitter color. For our print we wanted to use red glitter flakes, so we printed International Coatings’ Super Drake Red 7628 through a 160 mesh screen, using a 70-90-70 triple durometer squeegee. Then flash the print. Do not over-flash
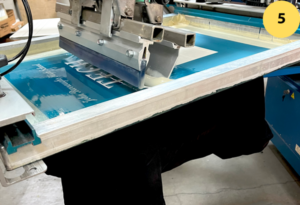 Now we print the gel that will hold the glitter. We used International Coatings’ FX Gel Gloss Clear 3809, double stroke, using a 110 mesh screen and a 65 durometer squeegee. You can also use International Coatings’ Flock Adhesive 3820 or a gel ink with our 900 catalyst added to promote adhesion when using this technique
 The gel ink you use needs to be able to bond the glitter to the substrate, so be sure it has adhesive properties. Always perform a wash test on a sample print prior to doing a production run
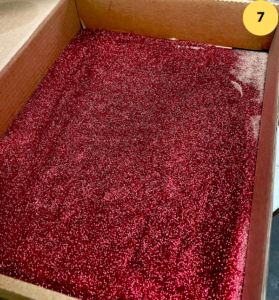 Now we come to the glitter application. Place glitter flakes in a shallow container such as a cardboard or plastic box. Be sure that the box is large enough to fit the printed image. Remove the shirt off the printing platen, being careful not to touch or damage the wet print. Then place the print upside down into the box containing the glitter flakes
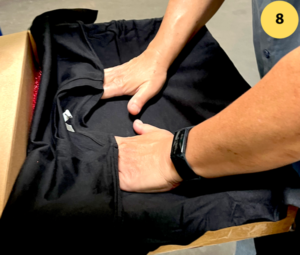 Push the shirt down gently into the glitter flakes and be sure to press down over the breadth of the entire design so that there are no “bald” areas of missing glitter.
The dry glitter can also be sprinkled on top of the design, but the glitter does need to be pushed firmly into the adhesive
 Remove the shirt from the box and tap the back of the shirt to remove excess glitter flakes
 Place shirt on the dryer and cure at 320-330°F (160-165°C) for slightly longer than a minute. Glitter reflects heat, so it’s better to let the shirt dwell in the dryer for about 10 seconds longer (total 1 min 10 seconds)
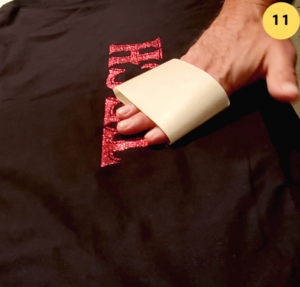 If it’s necessary to remove residual glitter flakes after curing, use some masking tape and gently roll it over the area containing excess glitter flakes
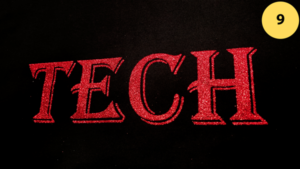
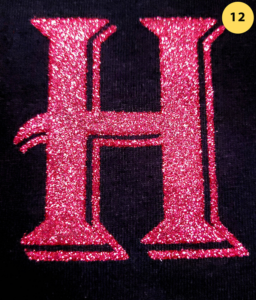 Just showing off how shiny the glitter print looks
Watch Video of the above Dry Glitter Technique