Bling it on!
February 01, 2020
In an article recently published by Images Magazine, Kieth Stevens explains how to use gel ink to add glitz and glamour to any print
According to Kieth Stevens, western regional sales manager for International Coatings and screen printer of more than four decades, adding special effects to a screen printed design does not have to be complicated. Most special effects inks require just one additional screen, yet elevate the design into something ‘a bit more special’, and can increase the overall value of the garment. “This translates into increased profits and the ability to provide customers with new and unique print application alternatives: a win-win for the screen printing shop and the customer!” he points out.
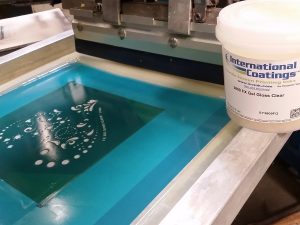
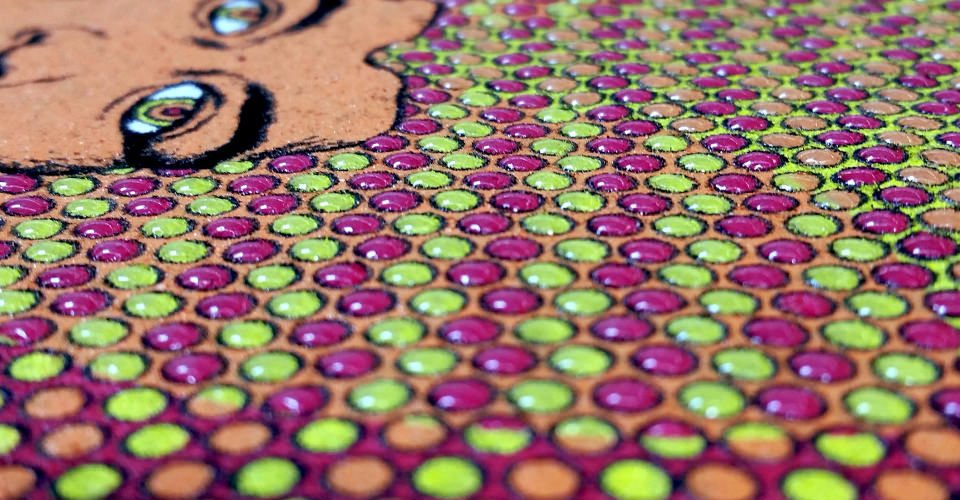
In this step-by-step, Kieth demonstrates how to create a print with “extra pizazz” by using the brand’s new and improved FX Gel Gloss Clear Ink with caviar beads. “Not all gels are created equal and this particular gel has great doming and adhesion properties.” He recommends using gel ink sparingly for the best effect, noting that it works best when covering smaller areas rather than large portions of a design. He adds: “Think ‘water droplets’.”
He also advises that many special effects inks work best when printed through a thicker emulsion as this allows for a greater amount of ink to be deposited onto the substrate and the creation of texture; using a lower mesh count is also recommended.
FX Gel Gloss Clear Ink can be applied to either cotton or polyester-blend or polyester fabrics. Do remember to use low-bleed inks for the main design if printing on dark polyester fabrics to mitigate any dye migration. Once printed, the gel can either then be cured for a simple gel-look, or caviar beads or other special effects can be added before the design is cured.
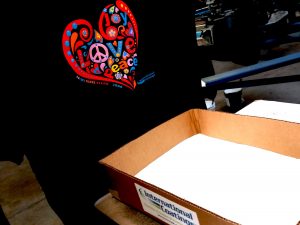
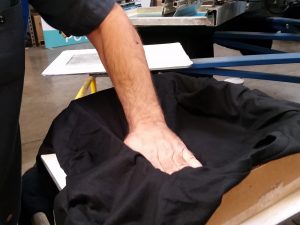
In this step-by-step, Kieth applied the beads by placing the T-shirt printed with the wet gel into a box of caviar beads. If the design is large, however, the caviar beads can be applied by spreading them onto the garment while it’s still on the pallet. A large box should be placed under the application station to collect any excess beads that fall off.
The technique shown here is with caviar beads, but they can easily be substituted by glitter flakes or flock. “Just add a small amount of catalyst [to the gel] to ensure wash-fastness and a superior bond when used as an adhesive,” says Kieth. “It works well as an in-line foil adhesive for a distressed foil look and works great as a glitter base for screen printing. That’s why it’s so versatile!”
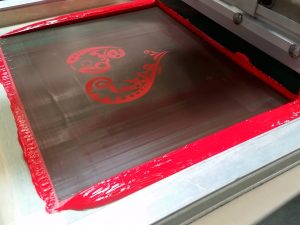
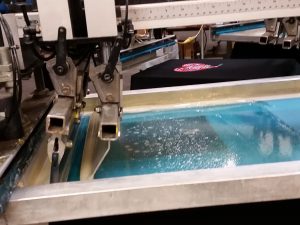
Step-by-step: Gel ink print with caviar beads
You can also view our video series on printing the gel gloss ink, here and how to apply the caviar beads/glitter flakes here.

