Add Special Effects With Minimal Effort - Tips and Tricks
January 13, 2021
 Want to kick your prints up a notch with special effects? Check out our recent article in Impressions Magazine below. Learn which effects are ideal for your print skill level and learn tips from the pros on how to print specialty inks.
Show your customers something new or special that you can do with their logos or designs. Adding special effects is an easy way to wow them. Remember, anything that your customer hasn’t seen before can be viewed as a “special effect.”
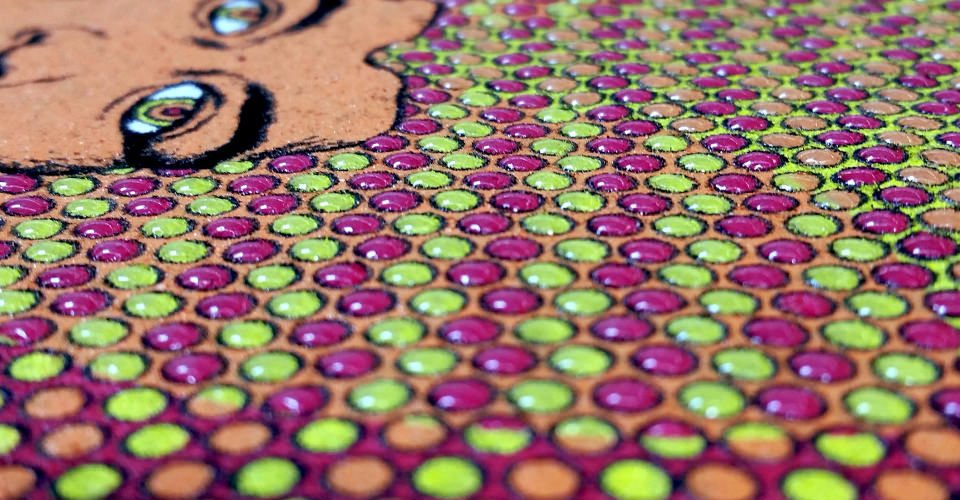
Dimension and textures can easily be added using specialty finishes such as Puff, High Density (HD), Glitter, or Gel Gloss inks. Highlighting smaller areas rather than large spaces will keep the printing process simple, keep costs to a minimum, yet give the design flair and interest. Not only will the design stand out visually but will also be tactile.
For example, add Puff or HD ink to frame the logo or design, or take bits of the design and add height to accentuate specific parts. The resulting print will raise your design a couple of notches.
Let’s talk about the different inks available for special effects. For the beginner, I like to recommend using a glow-in-the-Dark ink, as it is one of the simplest inks to work with and it is very easy to use. No thicker emulsion is needed and a regular mesh count (86-160) is fine. Consider adding glow-in-the-Dark to accent designs for concert or theatrical themed shirts, or really, just about any occasion prints.
Crystalina Shimmer adds a subtle glamour to any design and also does not require a thicker emulsion. It does need a larger screen mesh, 86 or lower, since the glitter flakes need to be able to pass through the mesh. Crystalina flakes have a holographic look and work best over a printed color or design.
Another great effect to try are light-reflective inks. They are on the costly side but lend a cool effect when correctly used. Try it in an outline of a design for that extra something. We like to try and use finer meshes (200) and make halftone designs. The ink does require a catalyst to be added for the reflective glass beads to adhere well to the substrate.
For the intermediate printer, consider puff or suede inks or try glitter or shimmer inks. These ink prints come out best when you build up a thicker emulsion layer. For the puff or suede inks, try a 110 mesh screen with some extra emulsion on the shirt side of the screen and use a soft squeegee.
For glitter or shimmer, I like to have around 80 Microns EOM (Emulsion of Mesh) on the shirt side of the lowest mesh count screen required to pass the glitter Usually and 25 to 40 TPI screen mesh. This allows the glitter ink to flow beneath the threads of the mesh and fill in the voids. Otherwise the coverage will look like a checkerboard.
Another versatile ink that can give a great effect is the gel gloss. Typically, these inks also require a thicker emulsion and should best be double stroked in quick succession. Gel gloss typically dome nicely the higher the heat is set (330F-370F). Some gel gloss inks can double as an adhesive or glitter base, so they can be used for effects such as flock and in-line foil. Just add 5% of catalyst for extra wash-fastness and durability when using gel as an adhesive.
For the more advanced printer, try high-density inks or color-changing inks called photo chromatic inks. With high-density effects, make sure you use a high-quality ink. One thing that I frequently see when I’m working with customers who use a low quality, high-density ink is that the ink will start liquefying on-press. What I mean is, the ink starts out good and creamy but will drop in thickness as the print runs continuously; usually after about 100 prints or so. This is more noticeable on long runs and automatics. Try a 110 mesh and don’t try to print details that are too fine; use a 200 or 400 micron capillary film for emulsion thickness and a soft squeegee. Remember to add more dwell time when curing the ink, since the layer is thicker. Think Cookie vs Cake.
Usually, a quality high-density ink starts out almost too thick, but as it is stirred, it becomes just printable. After a few print strokes, it should come out just right.
Don’t try to save money on a project by using inferior inks. The money that is saved by the less expensive ink will surely cost more in the long run due to delays in the job from all the downtime trying to get the ink to work well.
Kieth Stevens is the Western regional sales manager for International Coatings. He has been screen printing for more than 42 years and teaching screen printing for more than 12 years, is a regular contributor to International Coatings’ blogs and won SGIA’s 2014 Golden Image Award. He can be reached at kstevens@iccink.com.


